Keycloak and Ignition
Identity Providers
Now that Identity Providers (IdP) are a first class citizen in Ignition—with access to Vision, Perspective, the Gateway and the Designer—we’re going to review how to integrate one. The overall process will be the same regardless of which IdP you use, but we will be using Keycloak for this tutorial. Keycloak is an open source IdP which enables you to use it for direct user management, or even use popular platforms such as Google or Microsoft for their user management systems. For example, see our tutorial for setting up Google Workspace as an IdP for Ignition.
If you are setting up Keycloak for the first time, we recommend reviewing the Keycloak getting started guide. In our example for this post, we’re using the OpenJDK version. We also have Ignition Maker Edition set up on the machine where Keycloak is running, so all of our URLs will be using localhost instead of an IP address. Once you reach the end of the Keycloak getting started guide, you will have most of the pieces you need to get everything integrated.
Steps to set up Keycloak with Ignition:
Define a user in Keycloak
Configure some roles in Ignition
Give the users roles
Set up the IdP in Ignition
Set up rules to map the Keycloak roles to Ignition roles
Add security to a Perspective view
Verify that everything works!
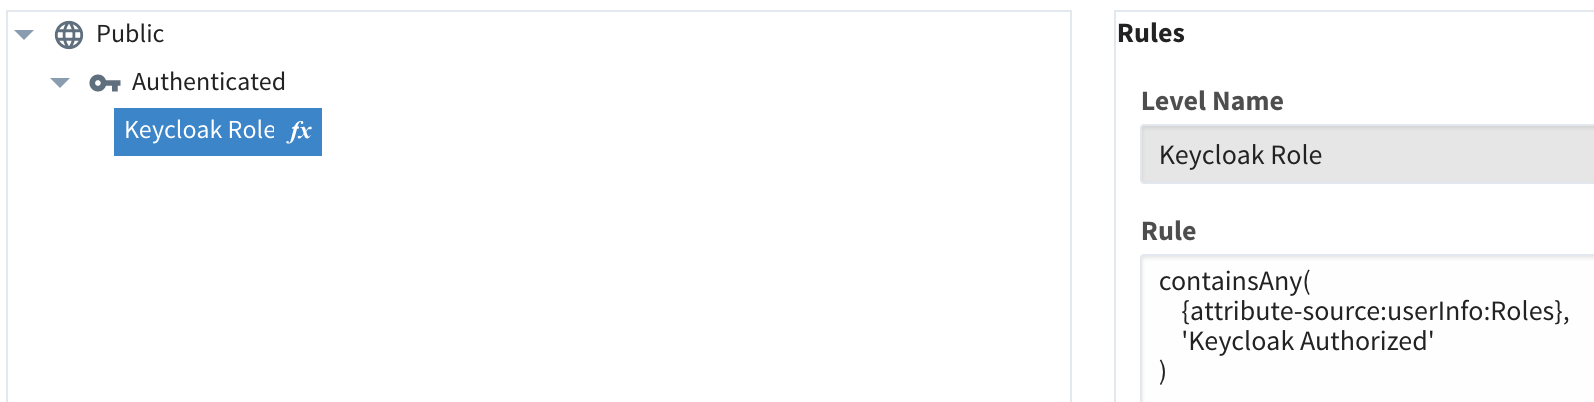
But first, we need to add a security level to our Ignition gateway so we can assign it to the users who will log in using Keycloak. To do this, login to the Ignition gateway, then navigate to Config->Security Levels. Click “Add Security Level” and enter in your new security level. In our example, we are calling it “Keycloak Role” and setting it as a child of “Authenticated”

Next, we will add an Identity Provider (IdP) to Ignition so we can connect it to Keycloak. In the Ignition gateway, navigate to Config->Identity Providers, then click “Create New Identity Provider.”

On the next screen (assuming you set up Keycloak to use OpenID), we will select OpenID Connect 1.0, then click Next.

For the next tasks, we will be swapping back and forth between the Ignition gateway and the Keycloak admin page.
In the Keycloak admin, enter a name for your IdP, then go to your Keycloak Administration Console. In the realm settings, select the realm that you set up, in our example we have named our realm “Ignition.” Down at the bottom of this screen, you will see two text boxes with underlined text. This is not in any way intuitive, but these are links!
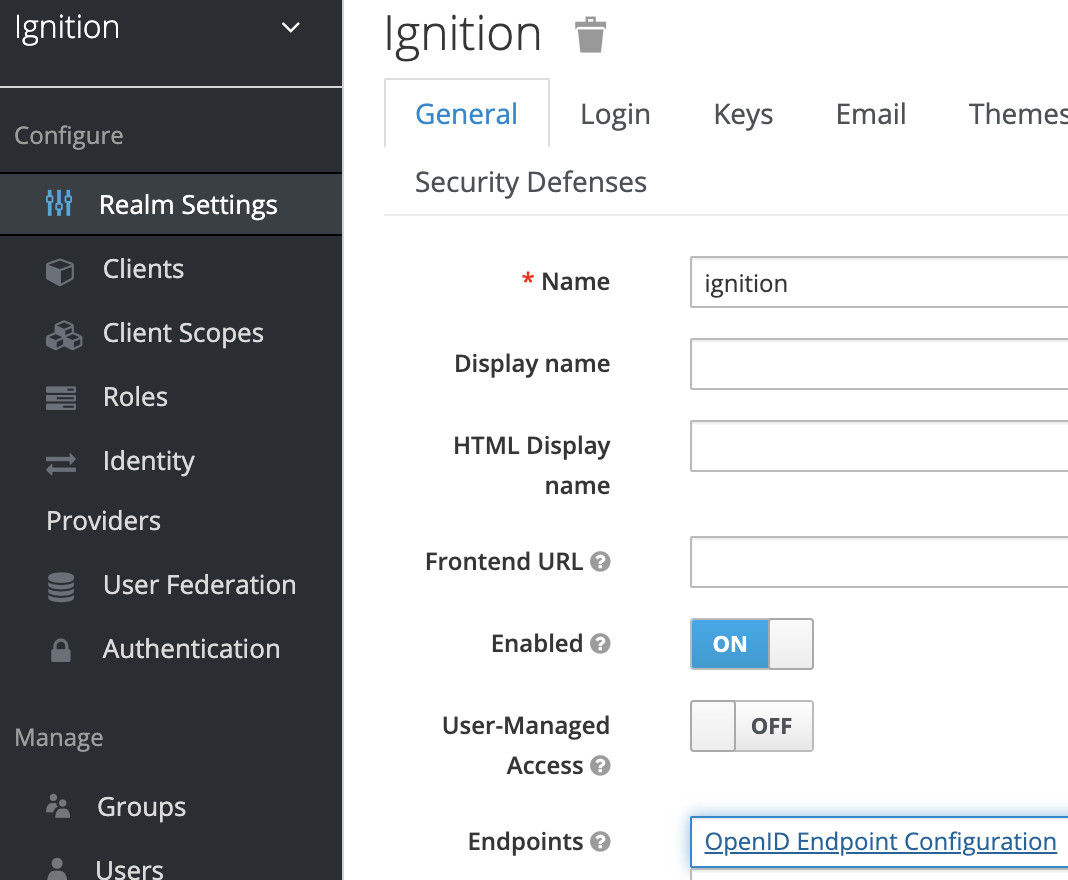
You want to click on the “OpenID Endpoint Configuration” link which will open another page. You want to then copy the URL from this page, in our case this is:
http://localhost:8080/auth/realms/ignition/.well-known/openid-configuration

You will then paste this into the “Import from URL” text box on the Ignition Identity Provider configuration page then click the “Import” button.

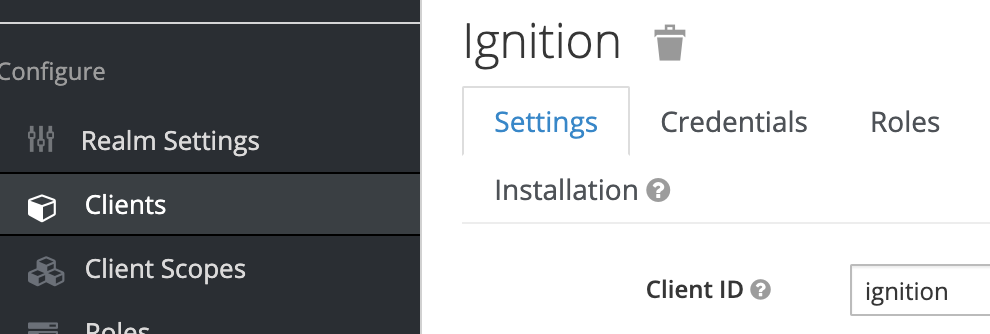
When you get a successful import message, most of the Settings page will be filled out for you automatically. But, you will still need to add the client id and client secret. Assuming you created a client while following the Keycloak getting started guide, you will go to that client’s settings to get these values. Log in to Keycloak, then navigate to Clients. Select the client you want to use for Ignition then copy the the client id from the main settings page (in our example, “Ignition”) and paste it into the Client ID field on the IdP Settings page in the Ignition gateway:
Next you will go back to Keycloak, then to the Credentials tab of the client settings, and copy the Client Key from here, then paste it into the Client Secret field in Ignition, then save your changes.

Now that everything is mapped, we want to do a test login. Then, we can start mapping user attributes, which will then let us manage roles to secure our projects. To do a test login, in the Ignition gateway, navigate to Config->Security->Identity Providers. On the right side of the page, click the “More” dropdown on the IdP you added previously and select “Test Login”. This will take you to the Keycloak login page where you will enter your credentials.

Once you login, you will see the results from Keycloak populate. At the bottom page we will get information about our user in the “userInfo” section. You’ll see we have a role listed, don’t worry about that, we will handle setting that up in the next step. Please note the “preferred_username” in this section, we will use that information next. Note, it is helpful to open the test login page in a separate browser tab so you have easy access to the results when configuring the attribute mapping.

To manage the User Attribute Mapping, in the Ignition gateway, navigate back to Config->Security->Identity Providers then click the “More” dropdown, and select “User Attribute Mapping”. Here we will map our user ID and username attributes from Keycloak to Ignition. If your values are different on the test login page, enter those accordingly, these are what we have from our system.

Here will we map the sub value from the ID Token Claims, and the preferred_username from the User Token Claims into the relevant fields. You could use the ID or User Token Claims for both, we’re just being thorough by showing all of the possibilities.
Now that we have user info coming across from Keycloak, it’s time to link up the roles so we can do something more interesting in our projects in Ignition. We already created the Keycloak Role in Ignition earlier in this tutorial, so let’s go back to the Keycloak administration console and set up a role there.
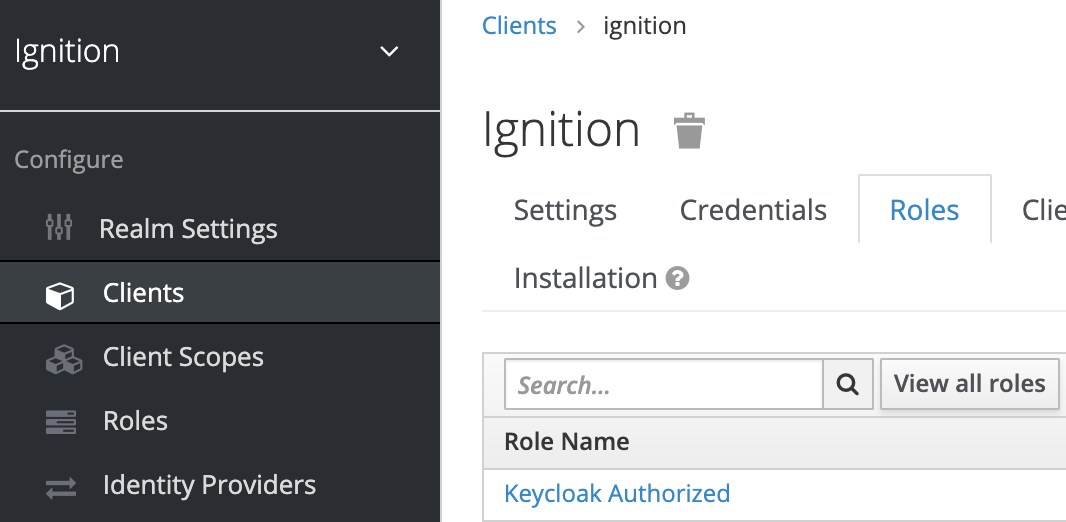
In the Keycloak admin console, navigate to Clients, select the ignition client, then go into the Roles Tab. Here you will see we have already clicked “Add Role” and added a new role called “Keycloak Authorized”. To add a new role to your client, click the “Add Role” button on the right side of the table, enter the name of the role you want to use, then click “Save”.
Now that you have a role in Keycloak, we need to map it to a user. Navigate to “Users”, search for the username you want to add the role to, then open “Role Mappings”. Use the “Client” dropdown to select the client, then click the role in the “Available Roles” list and move it to the “Assigned Roles” list using the button. Now you can go back into the Ignition gateway and do a test login—then you should see the role popup under the userInfo section like in the screenshot above.

Now that the role is coming from Keycloak into Ignition we need to tie it into the Ignition role system. In the Ignition gateway, navigate to Config->Security->Identity Providers, and select “Security Level Rules” under the “More” dropdown.

In the list of roles, select the role you want to map in Ignition to the role from Keycloak. Enter the expression to match your role name from Keycloak based on the value from your test login data. Our example in this post is fairly basic, but you can add complexity as needed by following the Ignition docs. Once you have done the expression, click “Save” and you should be good to go. Note that the names of the roles don’t need to match on both systems.
Finally, we need to set up the project to use the IdP for login. First open a Designer, then navigate to the Project->Properties menu. Click the “General” tab, then select the Identity Provider you created.

Next navigate to Perspective->Permissions, and set up your roles accordingly. Here we will lock down the Perspective app to only allow users who have the “Keycloak Role”.

Save and publish your project, then go back to the Ignition gateway to launch the Perspective project if you don’t have the URL handy. It will prompt you to login, which will then take you to the Keycloak login. Once you login to Keycloak, it will bring you to the app and you should see your default Perspective page for that project!
If you would like more information on how to go deeper with Keycloak, use other identity providers with Ignition, or want to ask us about any other problems you need to, solve please contact us!